How to solve the problem that svchost always occupies the computer network speed and memory? —–Windows 10

svchost.exe is a system program belonging to the Microsoft Windows operating system. Microsoft’s official explanation for it is: svchost.exe is the universal host process name of a service running from a dynamic link library (DLL). Coming soon to grab your net, today I will share how to close svchost.

1. Right-click [this computer] and select [Manage].

2. Double-click to open [Services] in [Services and Applications].

3. Find [Background Intelligent Transfer Service] and click [Stop].

4. Right-click [Background Intelligent Transfer Service] and select [Properties].

5. Select [Manual] as the startup type, and then click [OK].

How to setup RTC function for Eglobal mini pc M9-J1900?

Step 1: Restart your mini pc, and then repeatedly press “DELETE”, into the BIOS.

Step 2: Choose the Chipset, find the “Intel RC ACPI Settings”

Step 3: Into the “Intel RC ACPI Settings” , choose the “PCH-IO”Configuration”

Step 4: Find the “State After G3”, choose the “SO State”.

Step 5: Save your configuration and exit.

If you don’t know how to setup the RTC fuction for M9, you may refer our video:

How to solve the problem that the Mini PC’s BIOS is Locked Down?

Method 1: Unplug the main unit power cord, then remove the chassis and remove the BIOS battery for a few minutes before installing it.

Note: The miniPC power cord must be unplugged, otherwise there is a big chance that it will not be removed.

Method 2: Pull the miniPC power cord and then remove the chassis to find a three-pin jumper near the BIOS battery. It should be inserted above 1, 2 and jump to 2, 3 for 10 seconds.

Note: The miniPC power cord must be unplugged, otherwise the current loop will destroy the BIOS. The jumper was originally a short circuit.

DELL brand host BIOS crack method: Pull the host power cord and then remove the chassis to find the jumper near the BIOS battery. The jumper below writes the password label to pull out the jumper, wait for more than ten seconds and then plug it back. . You can clear the BIOS password.

Note: This method is not only suitable for DELL hosts, because there are many motherboards with the same settings. Only DELL is more commonly used in this method. Previous IBM also liked it, and now like the fourth step.

Lenovo and other brand host BIOS crack method: pull the host power cord and then remove the chassis to find a jumper near the BIOS battery. The jumper below writes the COMS label and pulls out the jumper. Wait for more than ten seconds. go back. You can clear the BIOS password.

How To Setup the PXE Function From Eglobal Mini PC V7-8565U?

Setp 1: Step 1: Press On/Off Switch on the mini pc and then keep press “Esc” on the keyboard until goes into BIOS;

Or

Press “ F11 ” after booting, select “ Enter Setup ”  into BIOS interface as the picture shown:

Step2:  Into the “Advanced”, find the “Network Stack Configuration”.

Step 3: Make all the select become Enabled.

Step 4: After the previous step is completed, return to “Advanced”, into the “CSM Configuration”

Step 5: Find the “Network” choose the “Legacy”.

How to make the Eglobal V310 fan mini pc hang behind the monitor

Step1: Have a monitor, a V310 mini pc and four screws ready. Previously, our computer needed a VESA after hanging it on the monitor. Now we can hang it directly behind the monitor without the VESA.

Step2: Screw the screw into the bolt behind the monitor.

Step3: Select the appropriate hanger according to the distance of the bolt.

If you don’t know how to do, please refer to the video.

Details or BUY via the link: https://www.pcstationcn.com/free-shipping-eglobal-mini-pcs/Desktop-pc

How to install the 1037U system using the USB driver

Step 1: Make a bootable flash usb driver as the following pictures

Install the software “make bootable USB software.exe ” on your computer, then open it to make the bootable flash usb driver.

The important step: Copy the xp.gho to the usb dirver

Step 2: Use your UBS driver into the PE system

Put your USB driver on your mini pc that you want to re-install the system, then turn on your mini pc and press “F11” then you will see the picture:

Select your USB Driver like “SinDisk Curzer Edge 1.27” then press “Enter”

Re-start your computer after above steps finished.

Video – How to assemble EGLOBAL Fanless Mini PC M3 serial

Usually we assemble a complete Mini PC well for our customers, but a few customers ask us to send bulk packaging to them in order to avoid high customs tax at local. If you don’t know how to assemble welcome to copy the demonstration video link of EGLOBAL Mini PC M3 serial for your reference.

Step 1: https://youtu.be/FxlMGwR17jE

Apply a few thermal grease between heat sink and motherboard is an important step. Fix the motherboard on the EGLOBAL Mini PC case by screws.

Step 2: https://youtu.be/3nNzaCkLKzQ

Fix the motherboard on the EGLOBAL Mini PC case by screws and install the case frame well.

Step 3: https://youtu.be/tyf12_XIFg8

Install the WiFi RF cables, you shall use the WiFi washer and WiFi screws to fix the two external WiFi antennas.

Step 4: https://youtu.be/PO3F9W68klU

Install the WiFi module, RAM and Storage on the correct slot of this motherboard.

New Arrival Mini PC Computers V310 Launched By Eglobal MiniPC Factory VS Intel NUC PC

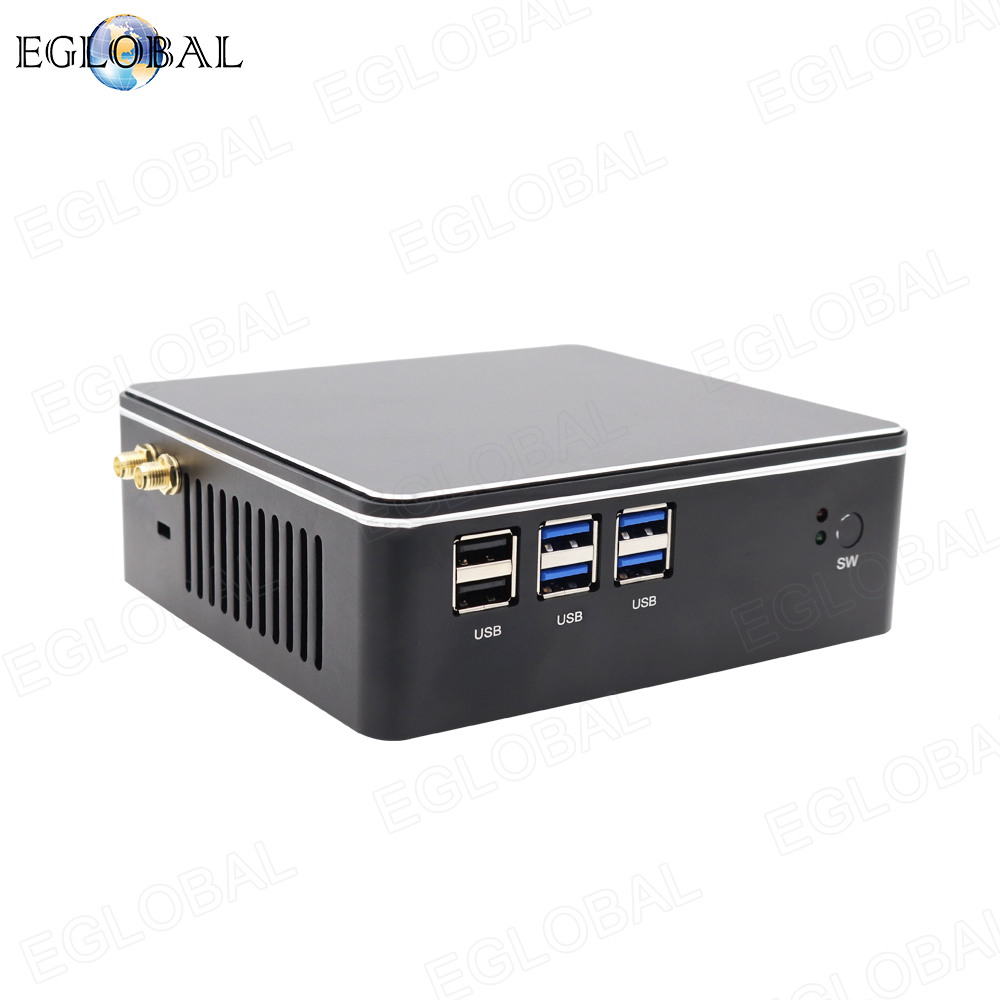
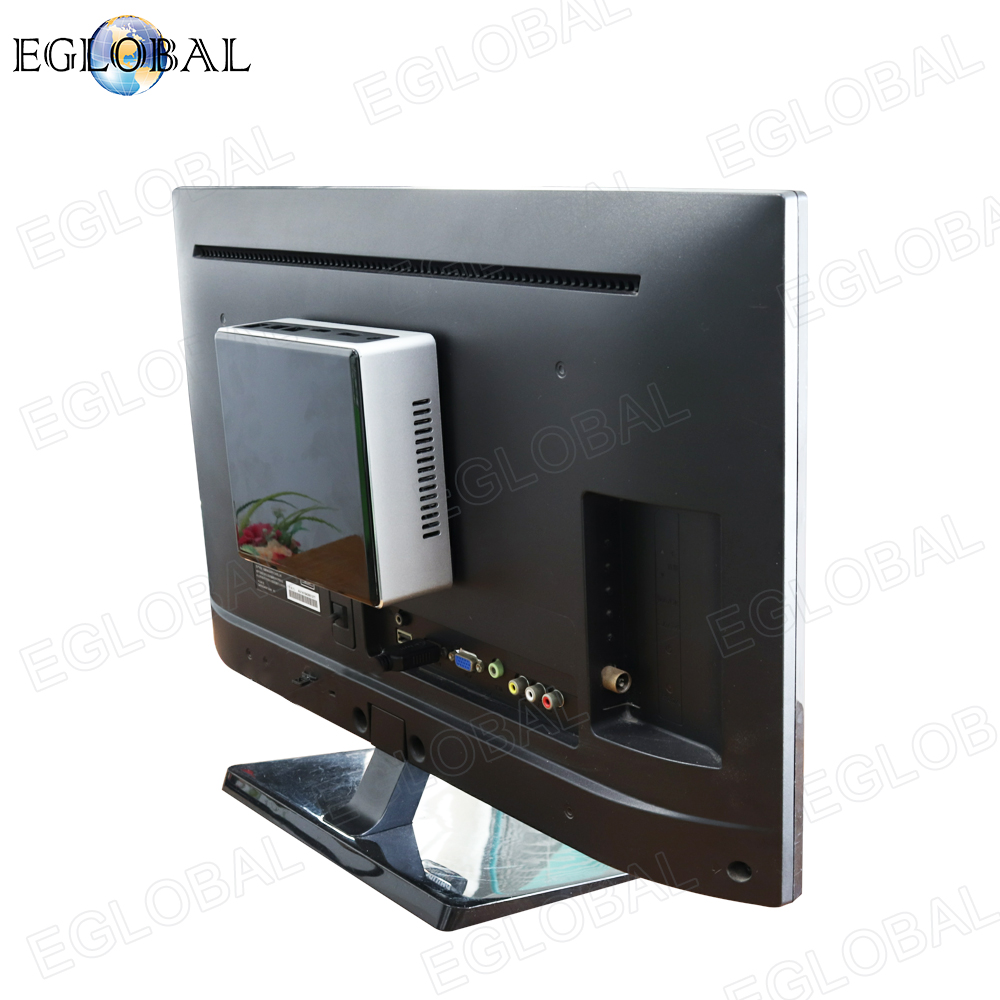
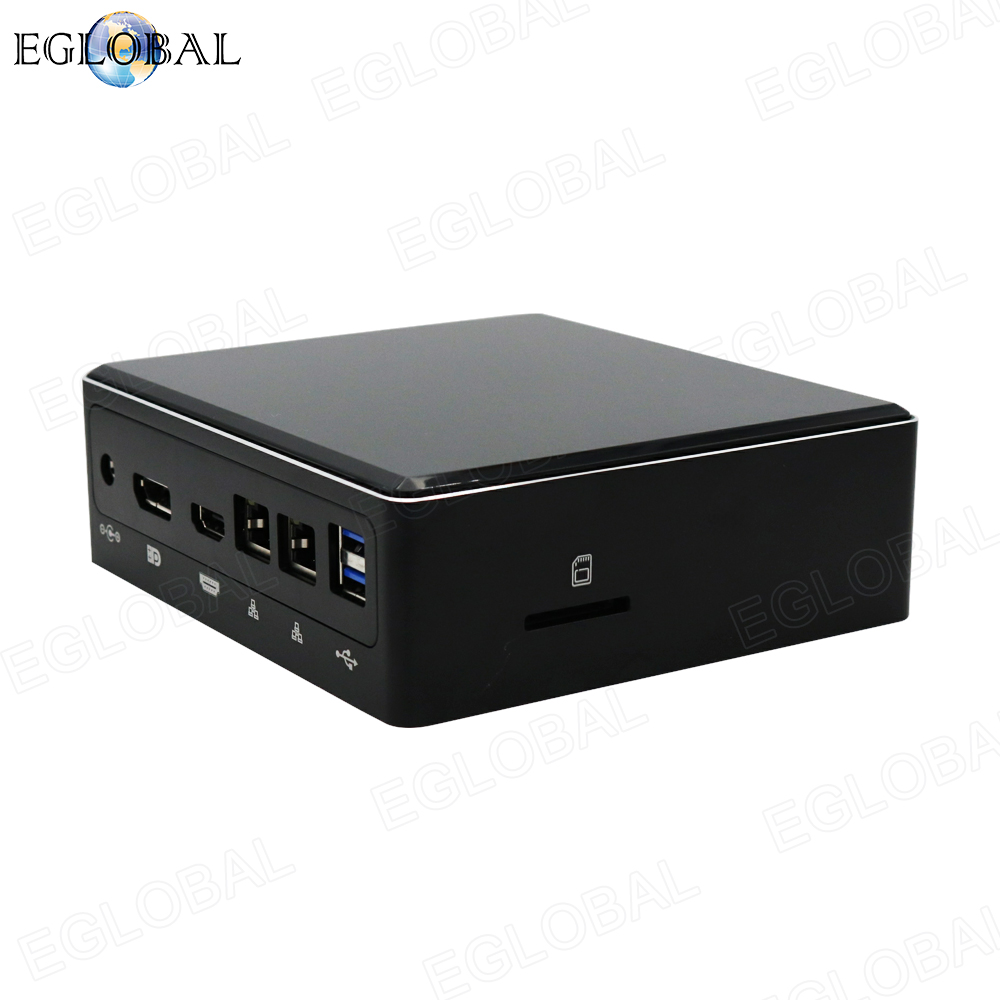
New arrival V310 is an affordable series of Mini PCs launched by Eglobal MiniPC factory. Smart tiny case 137x150x50mm hold by a hand, adopting 8th Gen Intel processor onboard, it’s possible to configure quite the capable computing machine without requiring some desk or floor space 
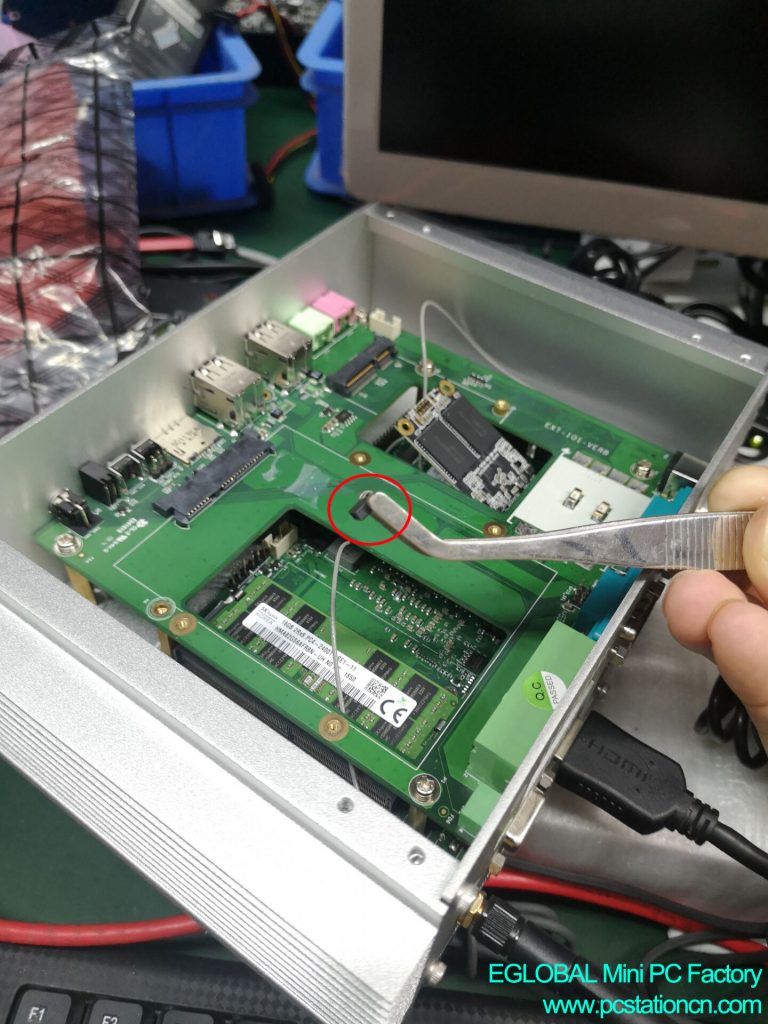
for a bulky case. The new Mini PC has dual gigabit RJ45 LANs, separately using 
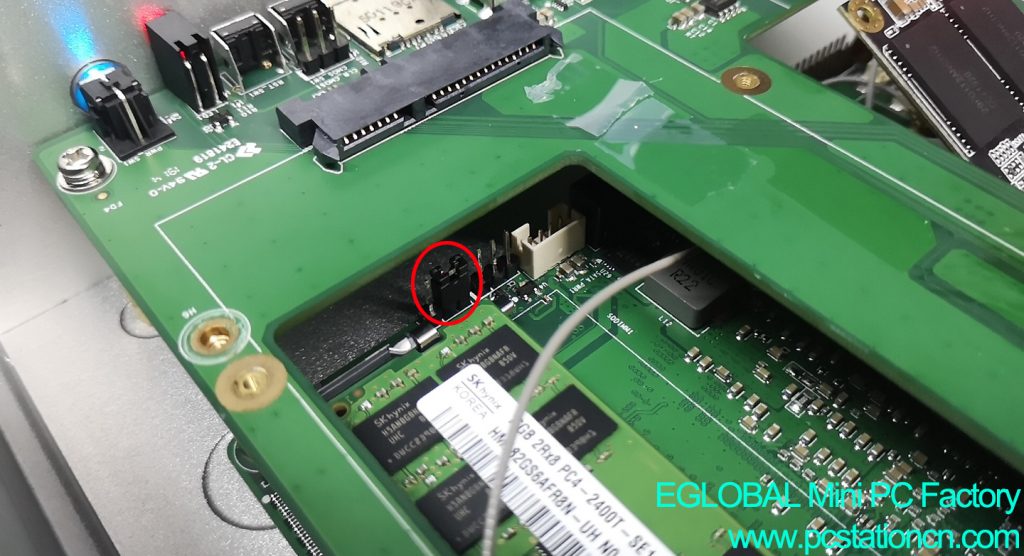
Intel chip and Realtek chip. 2xSODIMM DDR4 memory slot up to 32GB more fast speed and M.2 NGFF/NVME SSD slot improve work efficiency and give you a smooth experience. V310 Eglobal Mini PC with rich interfaces: USB, Type-C, SD Card, DP, HDMI, etc. to connect with more devices. Widespread applications such as office, school, bank, supermarket, service center, hospital, POS, HTPC, CCTV, etc. The only issue with the Eglobal Mini PCs is the choice available. There are many different configurations you can go for, which can be rather daunting to anyone who’s new to the series of hardware.

I’m going to run you through what you should consider, as well as a few examples to get you started.

Eglobal MiniPC factory offers various options when it comes to the Mini PCs. Multiple processors come from Intel company, including Celeron and the trusty Core i7. The question you need to answer before looking at a Eglobal Mini PC is what you plan to do with it. Should you require a capable machine that can not only handle processing of media and daily computing tasks but perhaps a little gaming on the side and consuming some 4K content, you’ll get by with the more affordable options with a Celeron processor, recommending Eglobal Mini PC M series we introduced before, like M3-N2955 with Intel Celeron 2955u CPU onboard, M3-N3150L with Intel Celeron N3150 CPU onboard, or M9-J1900 with Intel Celeron J1900 CPU onboard.

Moving up into Core i3, i5, and i7 territory is where the Eglobal Mini PCs gets really interesting. You can pick up the newest Mini PC V310, for example, which comes packing an Intel Core i7-8550U processor clocked at 4.0GHz, 16GB of DDR4 RAM, and a 512GB NVMe SSD with Windows 10 pre-installed. Considering the form factor, it’s an incredibly powerful machine and would gladly handle even more demanding applications.

Another thing to note with the different SKUs is the cheaper you go the more likely it is you’ll need to pick up RAM and an SSD yourself since these will not be covered by a sub $300 price.

Comparing different SKUs between Eglobal Mini PCs VS Intel NUC

I’ve selected a few options from the vast collection of Eglobal Mini PCs and Intel NUC offerings to show some different configurations and price points. Price of Eglobal Mini PCs include free shipping all over the world, Eglobal MiniPC factory also provide drop-shipping service for free.

CategoryProcessorRAMStoragePrice
M3-N3150LIntel Celeron N3150 2.08GHzN/AN/A$108.7
M9-J1900Intel Celeron J1900 2.41GHzN/AN/A$139
V310-8250UIntel Core i5-8250U 3.4GHz8GB
DDR4
256GB
NVMe
SSD
$337.27
V310-8550UIntel Core i7-8550U 4.0GHz16GB
DDR4
512GB
NVMe
SSD
$478.14
Intel NUC 5CPYHIntel Celeron N3050 1.6GHzN/AN/A$126
Intel NUC 7i5BNKPIntel Core i5-7260U 2.2GHz8GB
DDR4
256GB
NVMe
SSD
$639
Intel NUC 7i7BNKQIntel Core i7-7567U 3.5GHz16GB
DDR4
512GB
NVMe
SSD
$899

If you’re new to the whole world of Mini PCs or do not require anything powerful, the Intel Celeron is a capable processor. Throw in 8GB of RAM and an SSD and you’ll be ready to go. The Core i5 and Core i7 Mini PCs are in a different league. While they may not sport desktop-class Intel processors (only laptop ones here, I’m afraid), the performance available is superb.

Our four selections are $337.27, $478.14, $639 and $899, respectively. These four SKUs come with 8GB and 16GB of RAM and more than 256GB of internal storage, making it possible to simply plug them in to get going. Eglobal Mini PCs are with high cost performance, contain advanced internals that transforms the small box into a workhorse and makes it possible to enjoy high-quality content and power through work all-day long, but Intel NUC PCs are expensive up to double than Eglobal Mini PCs.