Bios Brief Description Of Gaming PC Model F3

📌Model: F3

📌CPU: Intel core i7-1255U / i5-1235U / i3-1215U / i7-1360P / i5-1340P

https://www.pcstationcn.com/index.php?route=product/product&product_id=600&search=f3&description=true

✅BIOS Homepage (Press DEL key to enter when booting)

✅PXE Setup

Advanced >> Network stack Configurtion >> Network stack (Enabled)>> IPv4 PXE Support(Enabled)

✅RTC

Advanced >> Wakeup settings >> Wakeup system form S5 (Fixed Time)>> setup the time you want

✅Power On AC

Chipset >> PCH-IO Configuration >> power Failure >> always on

⚠️After all settings are confirmed, you need to press F10 to save them to be effective.

How to update the bios of V320-1165G7?

EGLOBAL Powerful Pocket PC 11th GEN Intel Core i5/i7/i9 Mini Gamer Computer V320 fit for Office/Home/Bank/Hotel/Hospital/KTV…https://www.pcstationcn.com/eglobal-11th-gen-intel-mini-pc-box-core-i7-1165g7-m.2-nvme-computer-gamer-windows11-pc-for-office-student-ac-wifi-2-lan-6-usb3.0?search=v320&description=true Then how to update the bios of this model?

  1. Prepare tools for the update.
  2. There’s a folder “v320-1165G7 bios” under the same directory, copy all the flies to the root directory.

3. Choose the last page “Save&Exit”-then move up to the “Launch EFI Shell form filesystem device”.

4. Enter when you choose the “Launch EFI Shell form filesystem device”.

5. Input “fs0:” then press ENTER , and input “F”, then press ENTER, it will update bios.

When you can see the FPT operation successful , please press CTRL +Alt+DEL to restart the computer, when the screen is black , please to pull out plug the power adapter.

How to Set Up the GamingPC VX2-1135G7 to Auto-Power-On?

EGLOBAL gaming mini computer VX2-1135G7 with corei5 1135G7 processor supports 2DDR4 2 NVME SSD USB3.0 HDMI DP Type-C triple display PXE, Auto-Power-On, RTC, Wake-On-LAN functions. https://www.pcstationcn.com/new-powerful-gaming-mini-pc-intel-core-i7-1165g7-3-displa-max-64gb-ddr4-2-nvme-ssd-eglobal-computer?search=vx2-1165G7&description=true

Then how to set up Auto-Power-On on this gamer? Let us tell you!

STEP 1:After booting, press ESC to enter the bios main interface.

STEP 2:Move the cursor right to the Chipset option

STEP 3:Set State After G3 >> Set to S0 state

⚠️ After setting, press F10 to save. Press Enter to restart and save successfully. The computer will automatically start up next time it is connected to the power supply.

Some common FAQ with Eglobal Mini Computer-1

1. When you connect the PC with power if the indicator light is on?

The indicator light is off, you should change a new power adapter to test;

The indicator light is on, you should check the RAM, pull and plug it to test.

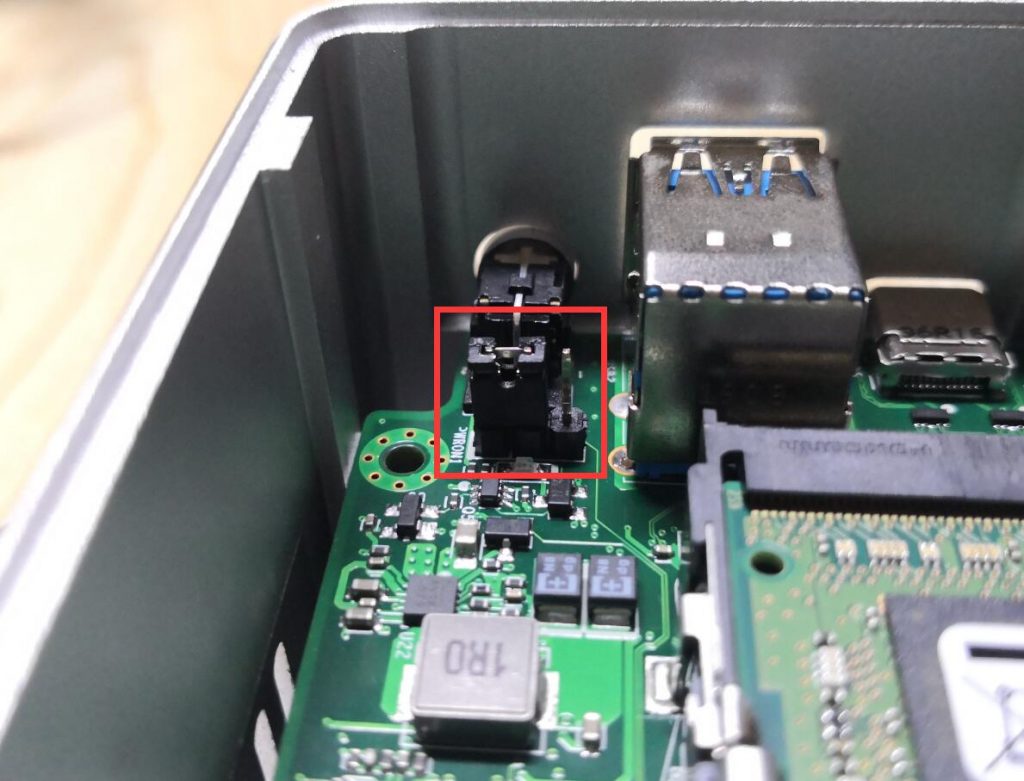
2. Pls remove the CMOS battery and re-install it to test

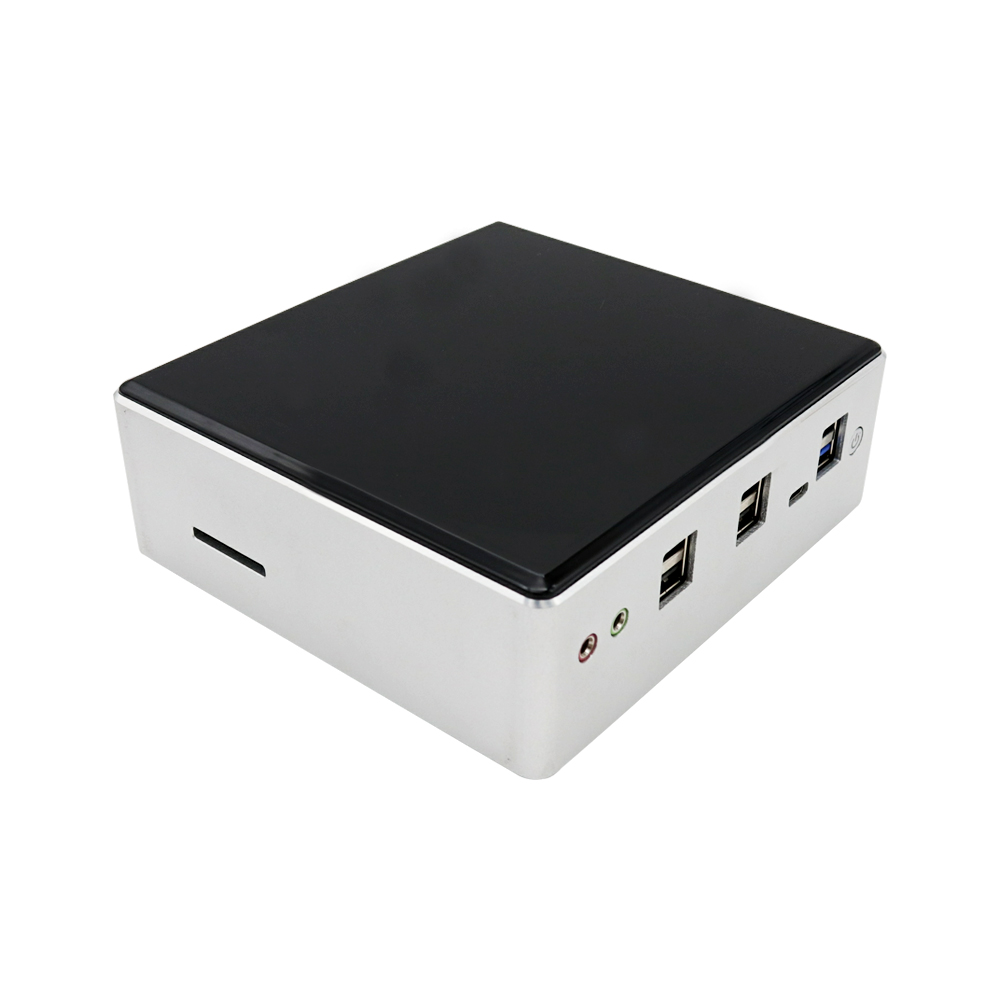
Please unplug power, open chassis and pull out of Ram, use clean cloths wipe golden plug of Ram, and pull out of CMOS button battery, wait a few seconds, then reinstall battery and Ram, remember plug ram deep into slot completely. Then plug the power and check again with VGA and HDMI ports.

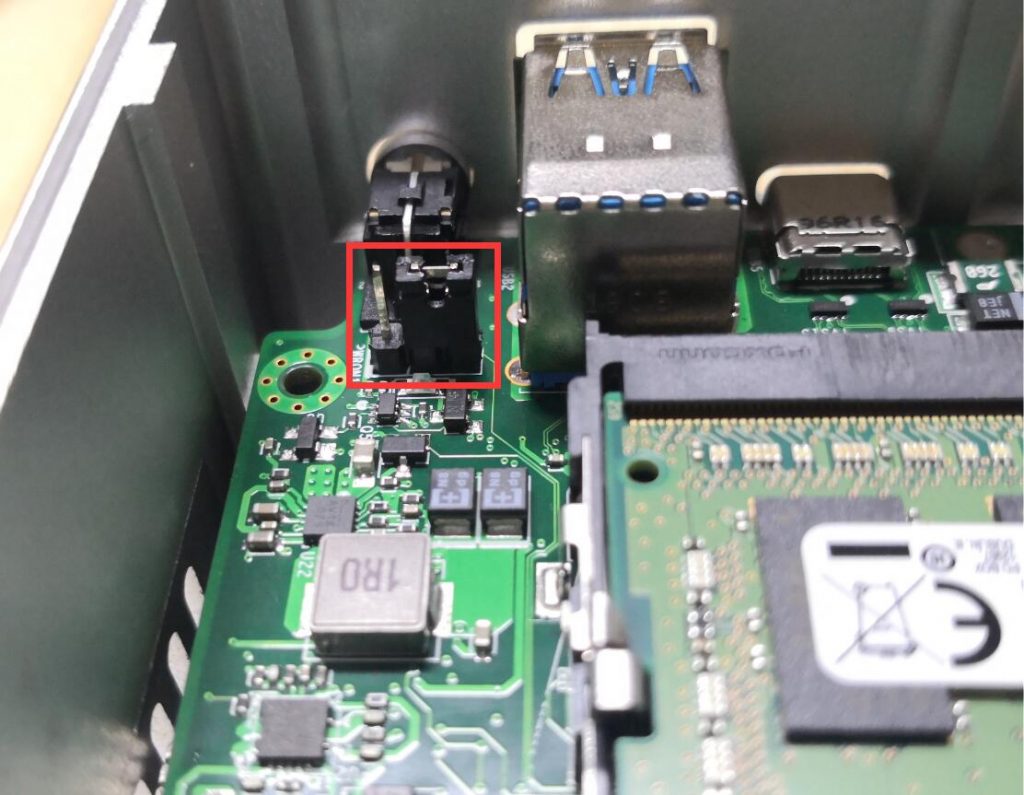
* If the power indicator light is off, firstly please change a new power adapter to test. If it can’t solve, then you unplug power, open the chassis and pull out of CMOS button battery, wait a few seconds, then reinstall the battery.

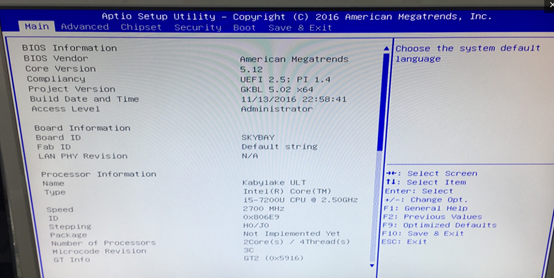
* If the power indicator light is on but nothing on screen, please unplug power, open chassis and pull out of Ram, use clean cloths wipe golden plug of Ram, then reinstall the Ram, remember plug ram deep into slot completely. Then plug the power and check again with VGA and HDMI ports.

3.How to install OEM OS on the Skylake PC:

1)Please download the win10 64bits image on the Microsoft official site(easy to find elsewhere too) or found in USB stick we offered if included. Then prepare an empty USB stick, download a USB bootable tool and make a Windows 10 ISO device from the following link:

http://rufus.akeo.ie/

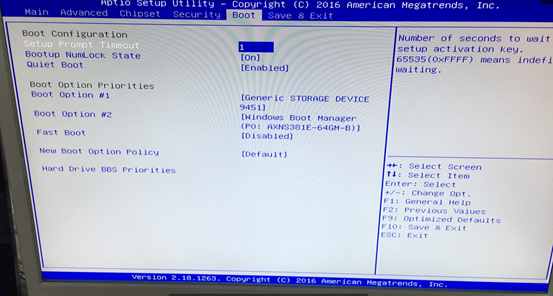
2)Format hard drive and burn win10 into a hard drive with bootable ISO USB stick. Close windows update online function.

3)Download and install all skylake win10 64bits drivers from the following link or use drivers in USB stick we offered:

https://my.pcloud.com/publink/show?code=XZ9bcMZlyRBpPIoLOQf8lixUSzsIja1WW4X

Please make sure windows update keeping closed. This is very important because new win10 update files are incompatible with graphics HD 520 drivers temporarily.

4) Please download the activation tool KMSpico from the following link:

https://my.pcloud.com/publink/show?code=XZxYNMZjqCwhDieTO4srqGq2JTA0FOO7dry

Run KMSpico exe in case of antivirus software and windows defender or firewall closed, if system report Trojan, just ignores and don’t mind.

How to solve the issue the mini pc can’t enter the operating system

If your pc can’t into the system like this back screen, pls dont worry, You just need setup in the bios

1:Press Ctrl + Alt + Del to restart the pc,then press ESC into the bios, you will see the picture

2: Pls find the “Boot” option

3:Setup the first boot option #1 “windows boot manger……”

4: After “yes”,pls press F10 to save the setup, then the mini pc will restart, and into the windows

How to make the Eglobal Mini Computer V310 support Auto Power on Function

How to make the Eglobal Mini Computer V310 model support Auto Power on Function? Please refer to the following steps.

Step 1. Preparing one set Eglobal V310 model mini computer and the screwdriver.

Step 2. Use the screwdriver open the bottom plate and upper plate.

Step 3. Find the power switch button. There is a three-pin pin next to the power button. There is a jumper connected to the two pins on the left.

Step 4. Pull out the jumper cap and connect the two pins on the right. as the picture shows.

NVMe vs. M.2 vs. SATA – What’s the Difference?

First, a quick note about SSDs – they’re fast. So fast in fact, their limiting factor is not their own hardware, but rather the SATA III connection that hard drives have traditionally used. Enter NVMe. Standing for “Non-Volatile Memory Express,” NVMe is an open standard developed to allow modern SSDs to operate at the read/write speeds their flash memory is capable of. Essentially, it allows flash memory to operate as an SSD directly through the PCIe interface rather than going through SATA and being limited by the slower SATA speeds.  Put another way, it’s a description of the bus the component uses to communicate with the PC, not a new type of flash memory. It is also unrelated to the form factor, which is why NVMe drives can come in both M.2 or PCIe card form factors. With both form factors, the component is connecting electrically to the PC via PCIe rather than SATA. Yes, it’s confusing, but stick with us.

When you buy a new SSD, it uses either the SATA or NVMe interface to connect to your computer. Traditional SATA SSDs use the 2.5″ form factor, as seen in the picture below.

What is M.2?

M.2 is a form factor that spells out the physical size and shape of the card that can be plugged into an M.2 slot. This form factor has been designed to maximize space while minimizing the footprint. The M.2 slot is rectangular, with possible widths of 12, 16, 22, or 30 millimeters. Most M.2 solid-state drives are 22 millimeters wide. Lengths can also vary: 16, 26, 30, 38, 42, 60, 80, or 110 millimeters.

Most computer motherboards accommodate a variety of lengths for M.2 slots. At the same time, the width tends to be fixed on each motherboard, usually 22 millimeters wide. The M.2 slots on a motherboard can communicate with the rest of the PC using different interfaces/standards, including PCI Express (used by NVMe) or SATA, used by traditional SSDs.

Each motherboard has a different number of M.2 slots with different specifications.

How to install the 2.5” SATA HDD/SSD in to the Eglobal Mini Computer M8-N3160

Step 1: Prepare the 2.5” SATA HDD/SSD, SATA cable, power supply cable, screwdriver(M3) and the mini pc M8-N3160.

Step 2: Connect the SATA cable and power suplly cable to the motherboard for stand-by.

Step 3: Remove the bracket for installing the HDD/SSD for stand-by.

Step 4: Install the HDD/SSD to the bracket and fix the HDD/SSD to the bottom cover of the chassis.

Step 5: Connect the HDD/SSD to the motherboard by the SATA cable.

Step 6: Fix the bottom cover to the case.

EGLOBAL Mini Computer M3_2955U_5005_4500 s5 RTC wake settings

1.On boot up of the computer. Tap the ESC button repeatedly until you see this screen pop up.

2. Hit the right arrow key one time to end up here at the “Advanced” screen

3. On the screen you can see the S5 RTC  wake settings , Press “Enter”,you will see the screen pop up

4. You can set the time you want the pc start boot

5. When you finshed the setting, pls press F10 to save the settings.