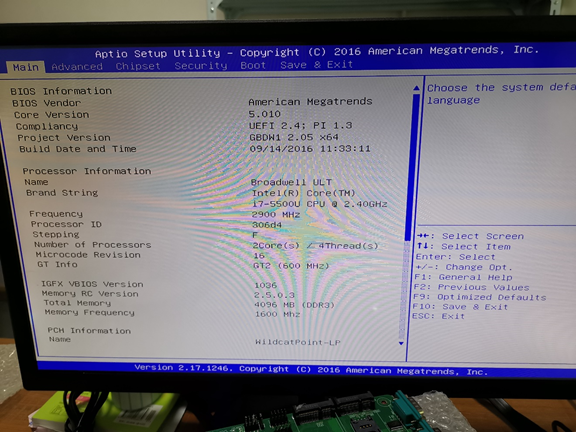
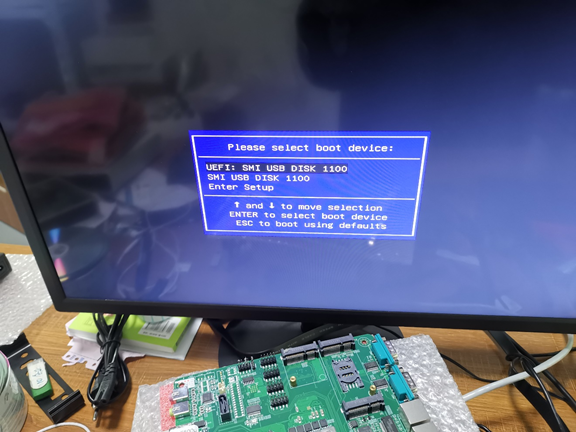
- Press ESC into the BIOS
- Choose the Advanced
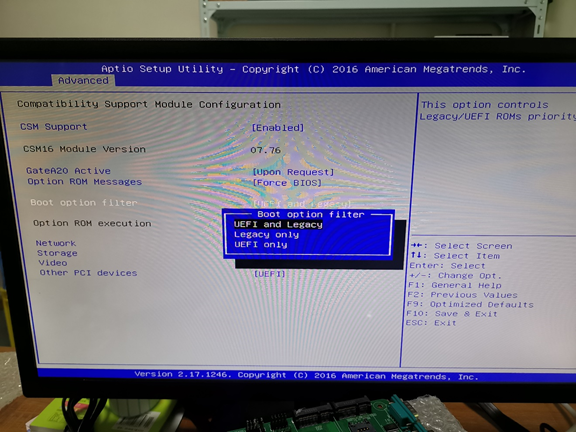
- CSM configuration
- Boot option filter.
- You could refer to the flowing picture.


EGLOBAL Mini PC
Happy New Year! Whish you happy every day, always happy, every minute wonderful, every second happiness.
We will have 3 days’ holidays from 1st 2021 to 3rd 2021. Work began on the 4th 2021.
Christmas time is here. I hope you have a wonderful New Year. May every day hold happy hours for you.

Eglobal Industrial mini computers can be applied to many fields. Our company installs industrial computers in laser printing equipment. It can also be applied to POS machines, hospitals, ATMs, and so on. https://www.pcstationcn.com/free-shipping-eglobal-mini-pcs/2-com-industrial-mini-pc
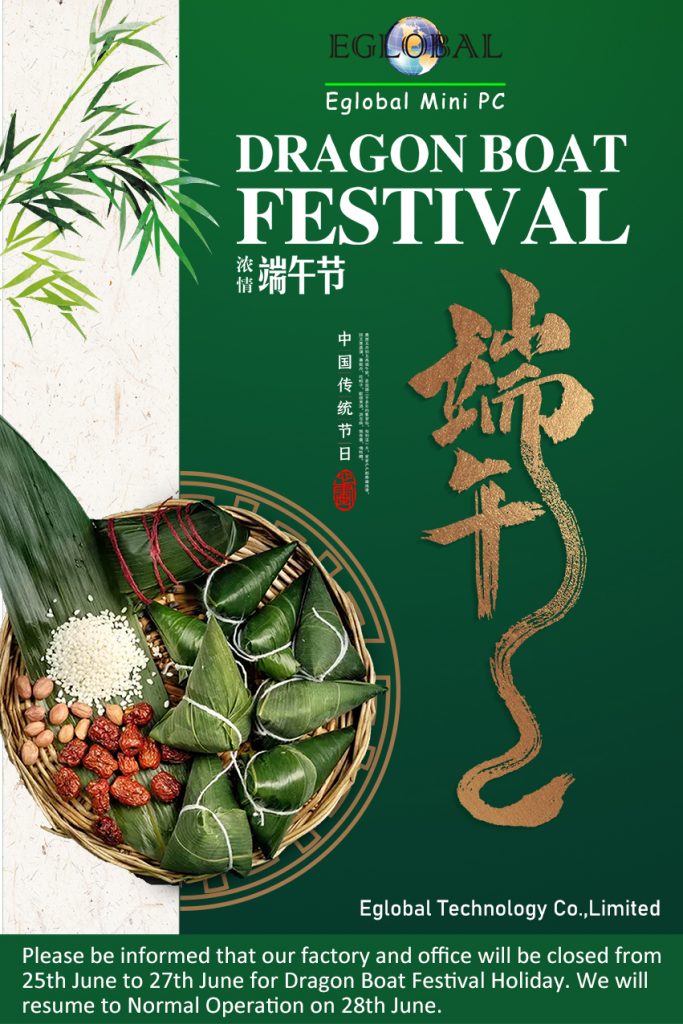
The Dragon Boat Festival is a traditional holiday originating in China, occurring near the summer solstice. The story best known in modern China holds that the festival commemorates the death of the poet and minister Qu Yuan (c. 340–278 BC) of the ancient state of Chu during the Warring States period of the Zhou Dynasty. A cadet member of the Chu royal house, Qu served in high offices. However, when the king decided to ally with the increasingly powerful state of Qin, Qu was banished for opposing the alliance and even accused of treason. During his exile, Qu Yuan wrote a great deal of poetry. Twenty-eight years later, Qin captured Ying, the Chu capital. In despair, Qu Yuan committed suicide by drowning himself in the Miluo River.
It is said that the local people, who admired him, raced out in their boats to save him, or at least retrieve his body. This is said to have been the origin of dragon boat races. When his body could not be found, they dropped balls of sticky rice into the river so that the fish would eat them instead of Qu Yuan’s body. This is said to be the origin of zongzi.
Three of the most widespread activities conducted during the Dragon Boat Festival are eating (and preparing) zongzi, drinking realgar wine, and racing dragon boats.
There are all kinds of emotions in the world. Father’s love is the most true and pure, and father’s love is the greatest!❤️❤️❤️❤️❤️❤️❤️❤️❤️
https://www.pcstationcn.com/
The development of science and technology is infinite, but the earth is too embarrassing. Environmental protection is everyone’s responsibility.
Hope you will always be as happy as a child.
👉International Museum Day 2020
The theme is Museums for Equality: Diversity and Inclusion.
That enlightens our Eglobal Team shall also develop the Mini PC in Diversity and Inclusion aiming at catering to the needs of more consumers and expanding more markets all over the word. A-ZA-A-ZA, FIGHTING!😁